

Written by: Sarah Hinds Friedl
During autumn, Mammoth Lakes attracts skilled, professional photographers looking to capture the beauty of fall foliage. But even if you’re not a pro yourself, you don’t have to be intimidated by the folks with the fancy equipment!
Practicing photography up here can be fun and challenging, and with some tricks of the trade, you might surprise yourself with how much you love the results!
The leaves are changing colors fast, so let’s talk about autumn photography in the Eastern Sierra!
Decide between film or digital
Your first big decision will be whether you want to photograph on old-school film or a digital camera. And there are pros and cons for both:
Film
A film camera is going to give you an artistic, nostalgic look, which can be great for fall photography! And because your film will be limited, this style of photography invites you to slow down and be very intentional with your shots. This can make your photo sessions feel more grounded and present.
That being said, film is less forgiving, more expensive, and mostly uneditable. In other words, you set yourself up for the best shot you can and you hope for the best. There’s no instant gratification in film photography! You’ll also sacrifice some crispness that you would get on a DSLR.
Digital
Generally, digital cameras are preferred for beginners, because they’re much more versatile and forgiving. You can take endless pictures (or at least as endless as your memory card) and adjust your technique as you go.
On the con side, digital cameras have a learning curve that can be intimidating at first. You also need to factor in things like carrying back-up batteries or portable chargers. Finally, learning digital photography also means learning how to edit, and that can feel like a lot of work when you’ve snapped hundreds of pictures.
Why not both?
What an excellent compromise! Making the most of the fall season by taking digital and film photos will mean that you can explore different styles. If this is the case for you, we would recommend that you opt for an unfussy (and lightweight) point-and-shoot film camera and a beginner-friendly digital camera.
Compile a wish list
One mistake that novice photographers often make is taking the same kind of picture over and over. And that can be especially true during fall, when you get caught up in taking wide landscape photos. Instead, keep things interesting by setting out with a wishlist of photos that you want to have at the end of your photoshoot, like:
-
Portrait photos of your family members or friends
-
Macro photos, or large landscapes
-
Close up textures
-
Landmarks around Mammoth Lakes (more on that later)
-
Wildlife (birds, squirrels, or maybe even deer!)
Having something like a bingo card of possible photos will make your sessions more creative and engaging!
Take full advantage of the golden hours
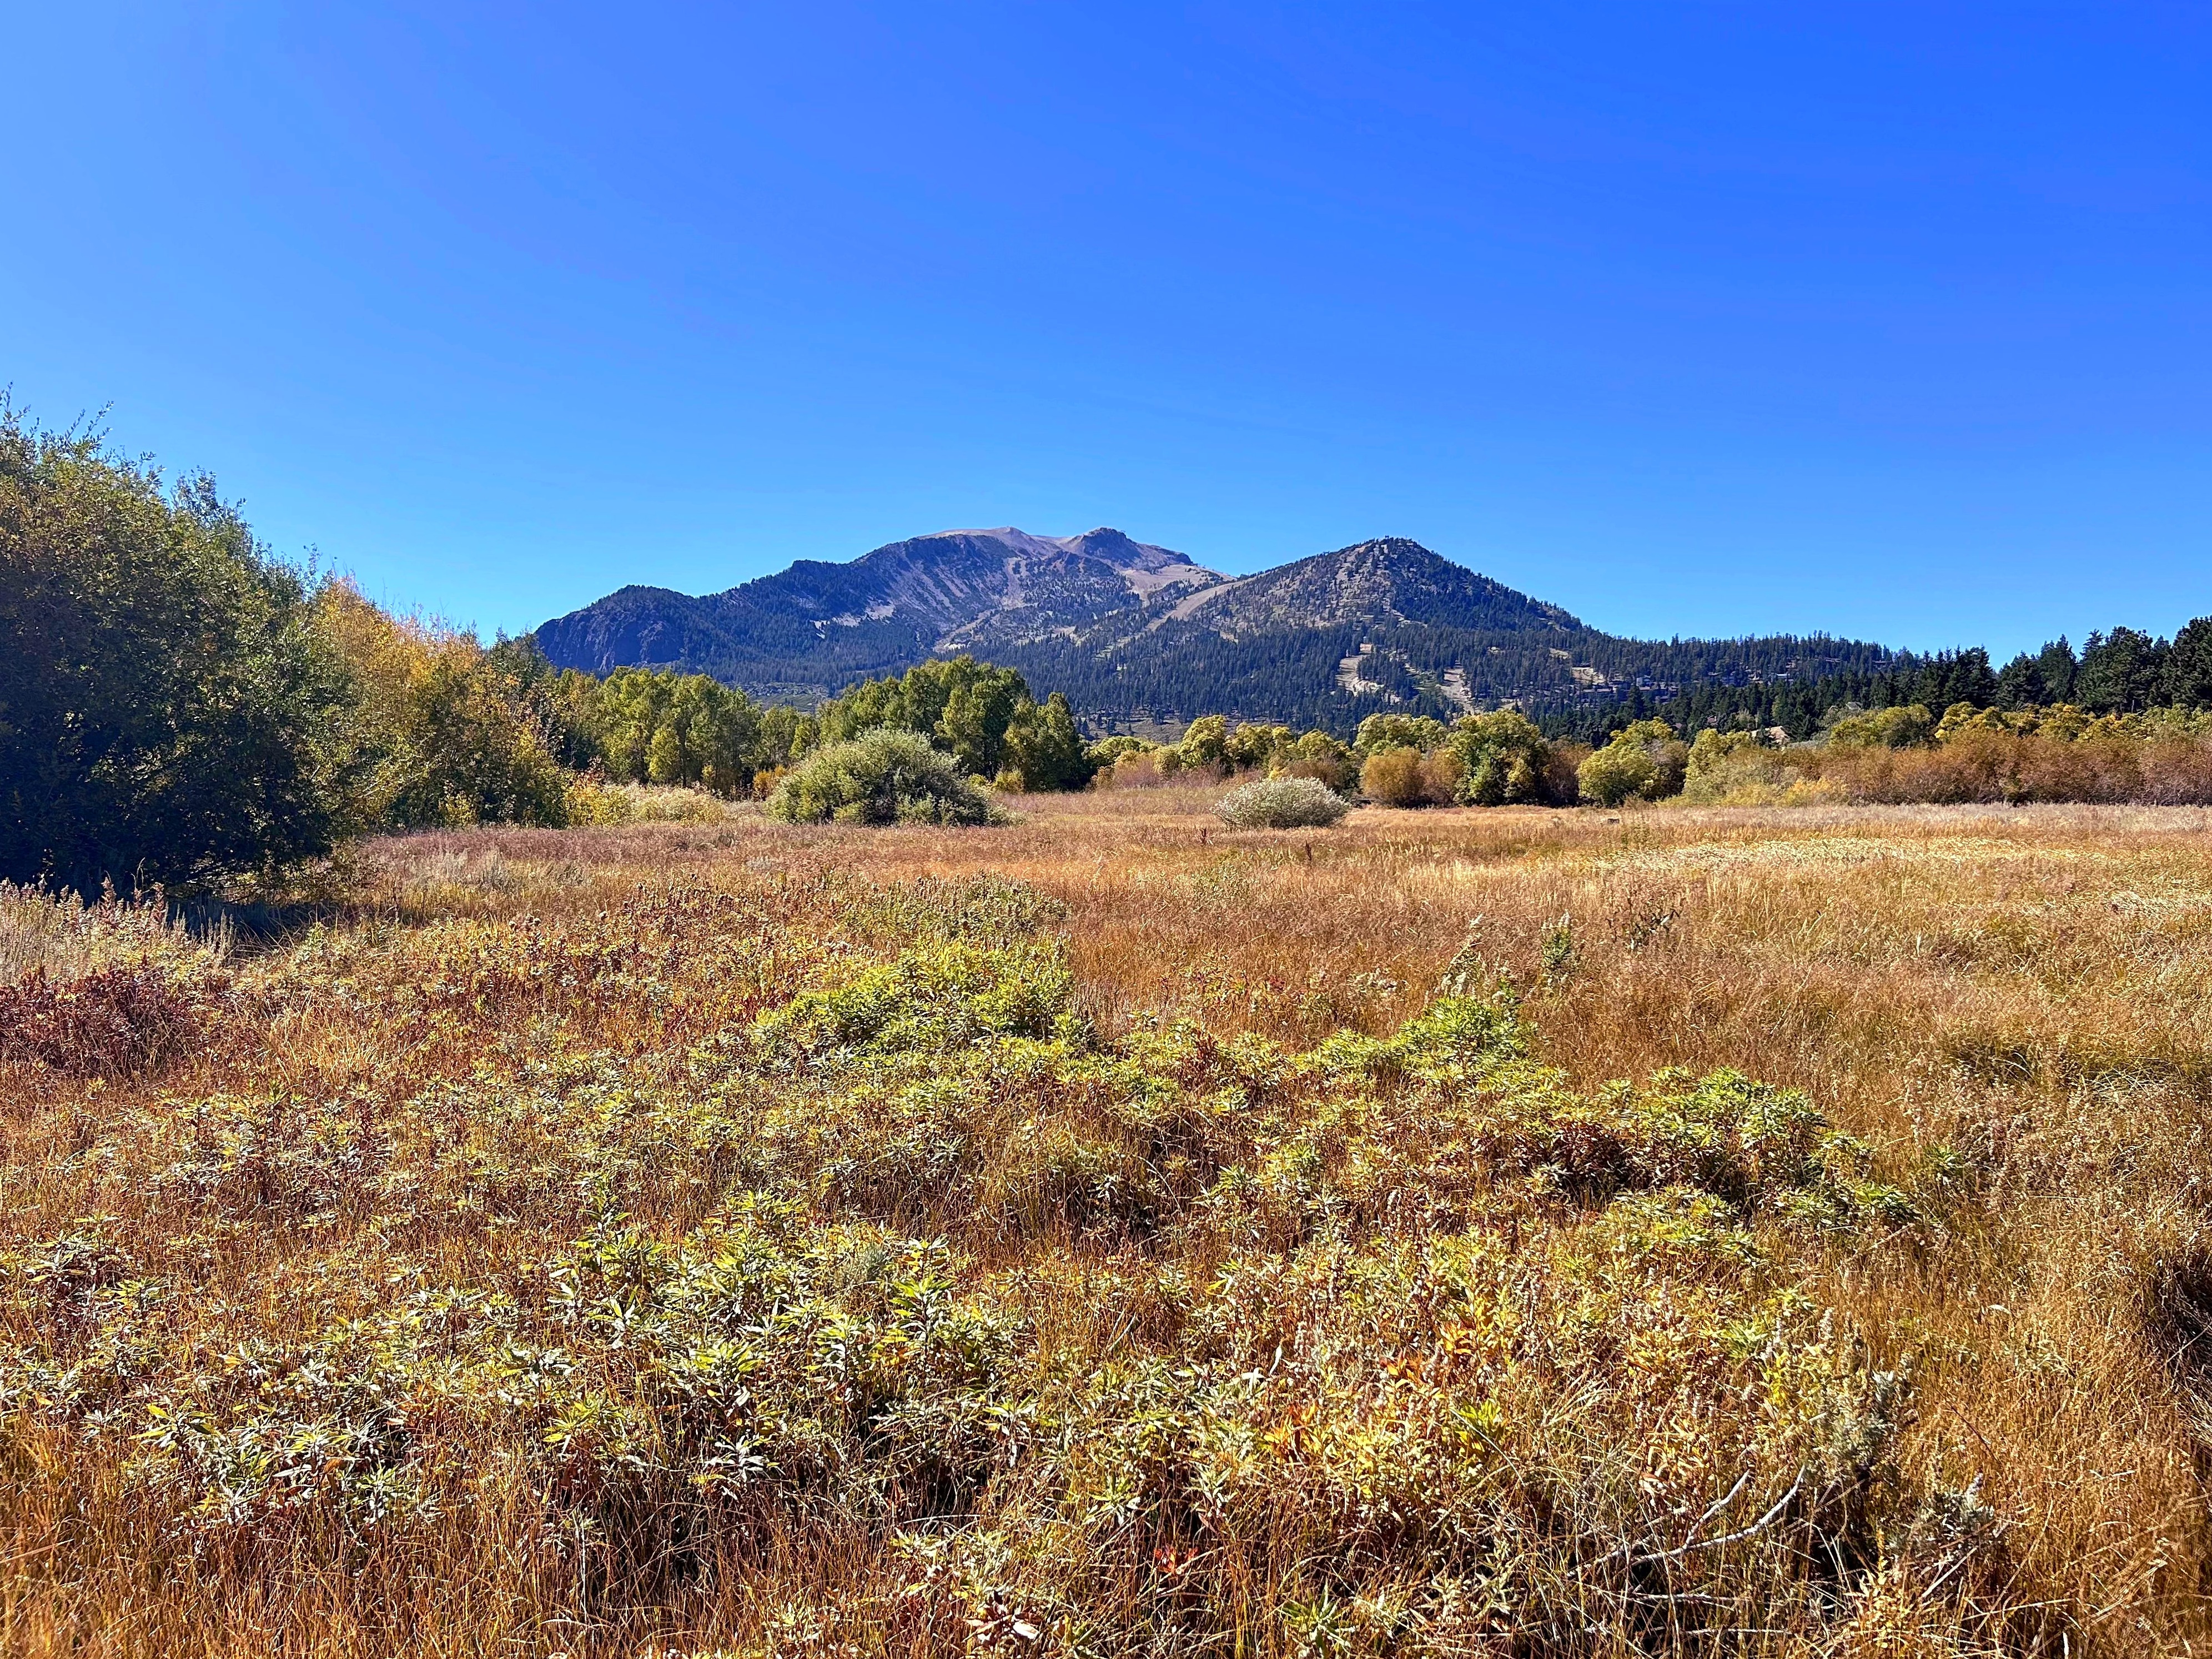
The golden hours, or the hours around sunrise and sunset, are good for photography all year long. But in autumn, the changing foliage makes golden hour photography truly spectacular! A few things to remember:
-
Set up well before golden hour. Scouting out your locations ahead of time and setting up before the lighting really gets good will ensure that you’re able to maximize the golden hour
-
Get ready to move quickly. This is especially true if you’re interested in portrait photography; you’ll need your subjects to be ready to pose and move around quickly so that you can get your shots before the light changes.
-
Use a reflector. Golden hour lighting can create stark shadows, but you also want to avoid putting your subjects in direct light which will make them squint. A reflector can help to balance out the lighting.
Play around with visual intrigue
Creative composition can make sure that your photos are not flat. And luckily, our area has many photography locations with just the visual intrigue you’re looking for. Consider for instance:
-
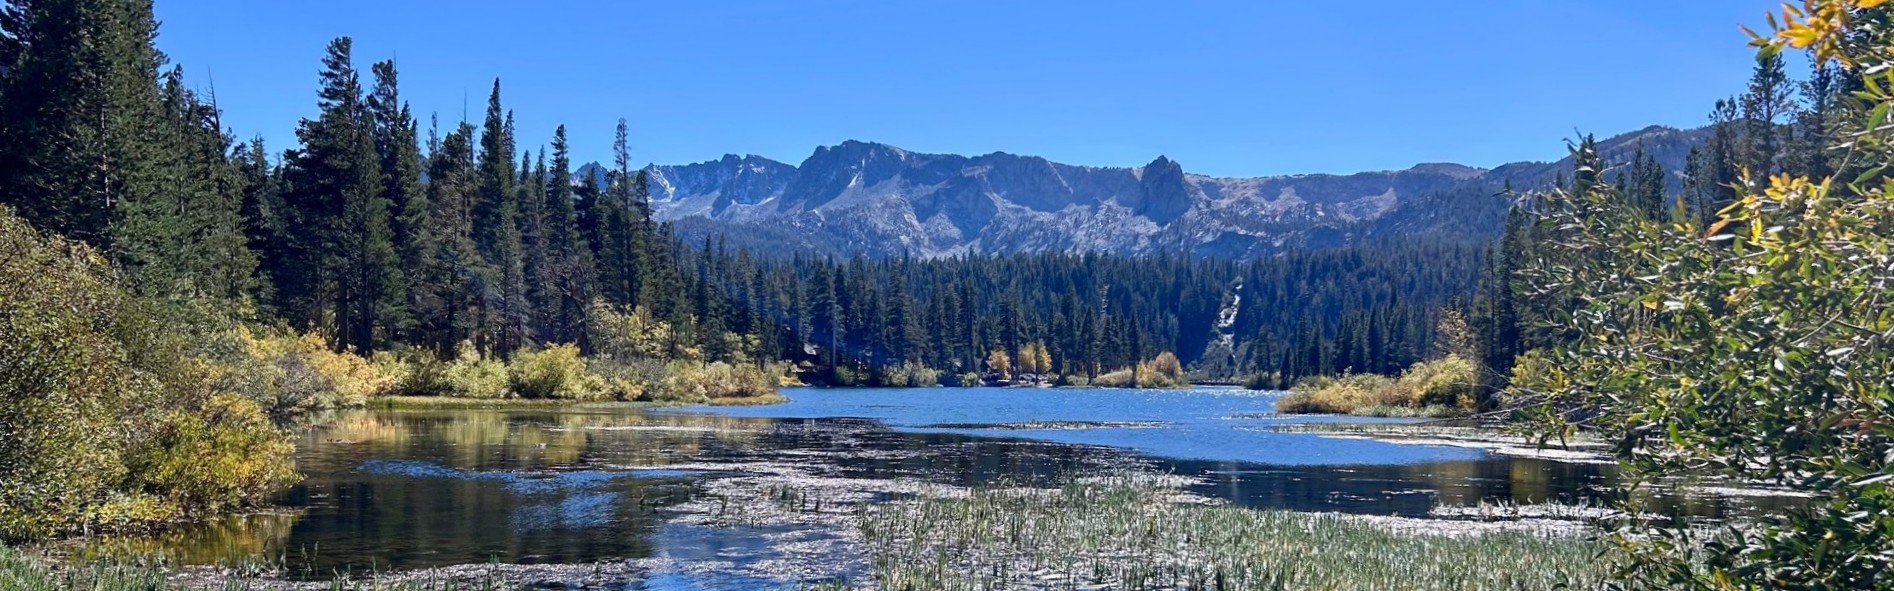
Twin Lakes Bridge. The picturesque bridge over Twin Lakes is perfect for portraits during fall. It will give you stunning foliage, water, and mountains in the background.
-
Mammoth Rock. The valley below Mammoth Rock is one of the earliest areas in town to see autumn foliage, and it’s also an incredible place to take pictures. There are many options for photographing Mammoth Rock: from the Panorama Dome Trail, along the Mammoth Rock Trail, or from below in the Meadow (accessed from the Mammoth Rock Trail)
-
Convict Lake. Convict Lake offers both autumn foliage and glassy lake views, which can make your photos more visually interesting. But there’s something else that makes this area so great for fall photography: the geology of Mt Morrison and Laurel Mountain. With a mix of red and pink hues, these colorful peaks offer a unique backdrop for your photos.
Prepare for wind
Winds tend to pick up in the afternoons here in Mammoth Lakes, so you’ll want to make sure that you account for that. Here are a few ideas:
-
Use a tripod
-
Increase your shutter speed to try to capture stillness
-
Or, decrease your shutter speed to capture the effect of movement
-
Get low. Wind speeds tend to be slower closer to the ground
Keep an eye out for wildlife
One of the reasons why we love autumn in Mammoth Lakes is because it’s when we’re most likely to see wildlife activity. Bears, deer, squirrels, and even bighorn sheep are out and about trying to fatten up for winter or their upcoming migration.
So, even if you didn’t go out with the hope of doing wildlife photography, always keep your eyes and ears open for the chance to capture some of our beautiful wild neighbors.
Adjust the white balance
The auto white balance setting on your digital camera might be what’s making your photos look less vibrant and dramatic than you want them to be. For a quick fix, try setting your camera to “cloudy” or “shade” which should bring out the warmer colors. You can get more technical by adjusting the Kelvin scale of your camera to somewhere between 5200K and 7000k; it will take some testing to see exactly where the sweet spot is.
Use a circular polarizer
Circular polarizers are a really popular tool for fall photography, because they can help to mitigate the glare cast by yellow and red leaves as well as water. You’ll notice that this type of filter will make your fall colors pop and create a lovely contrast with darker shades in your composition.
Work your angles
We mentioned that getting low is a good technique for windy days, but actually, you can enhance the visual intrigue of your photography by trying out many different angles. Get up close and personal with a leaf on the ground. Or, lie flat in the middle of a trail and angle your camera up. Crouch, lean, reach. Get creative with your perspective and you won’t fall into the trap of flat, predictable fall photos.
Other tips to help your photography shoot
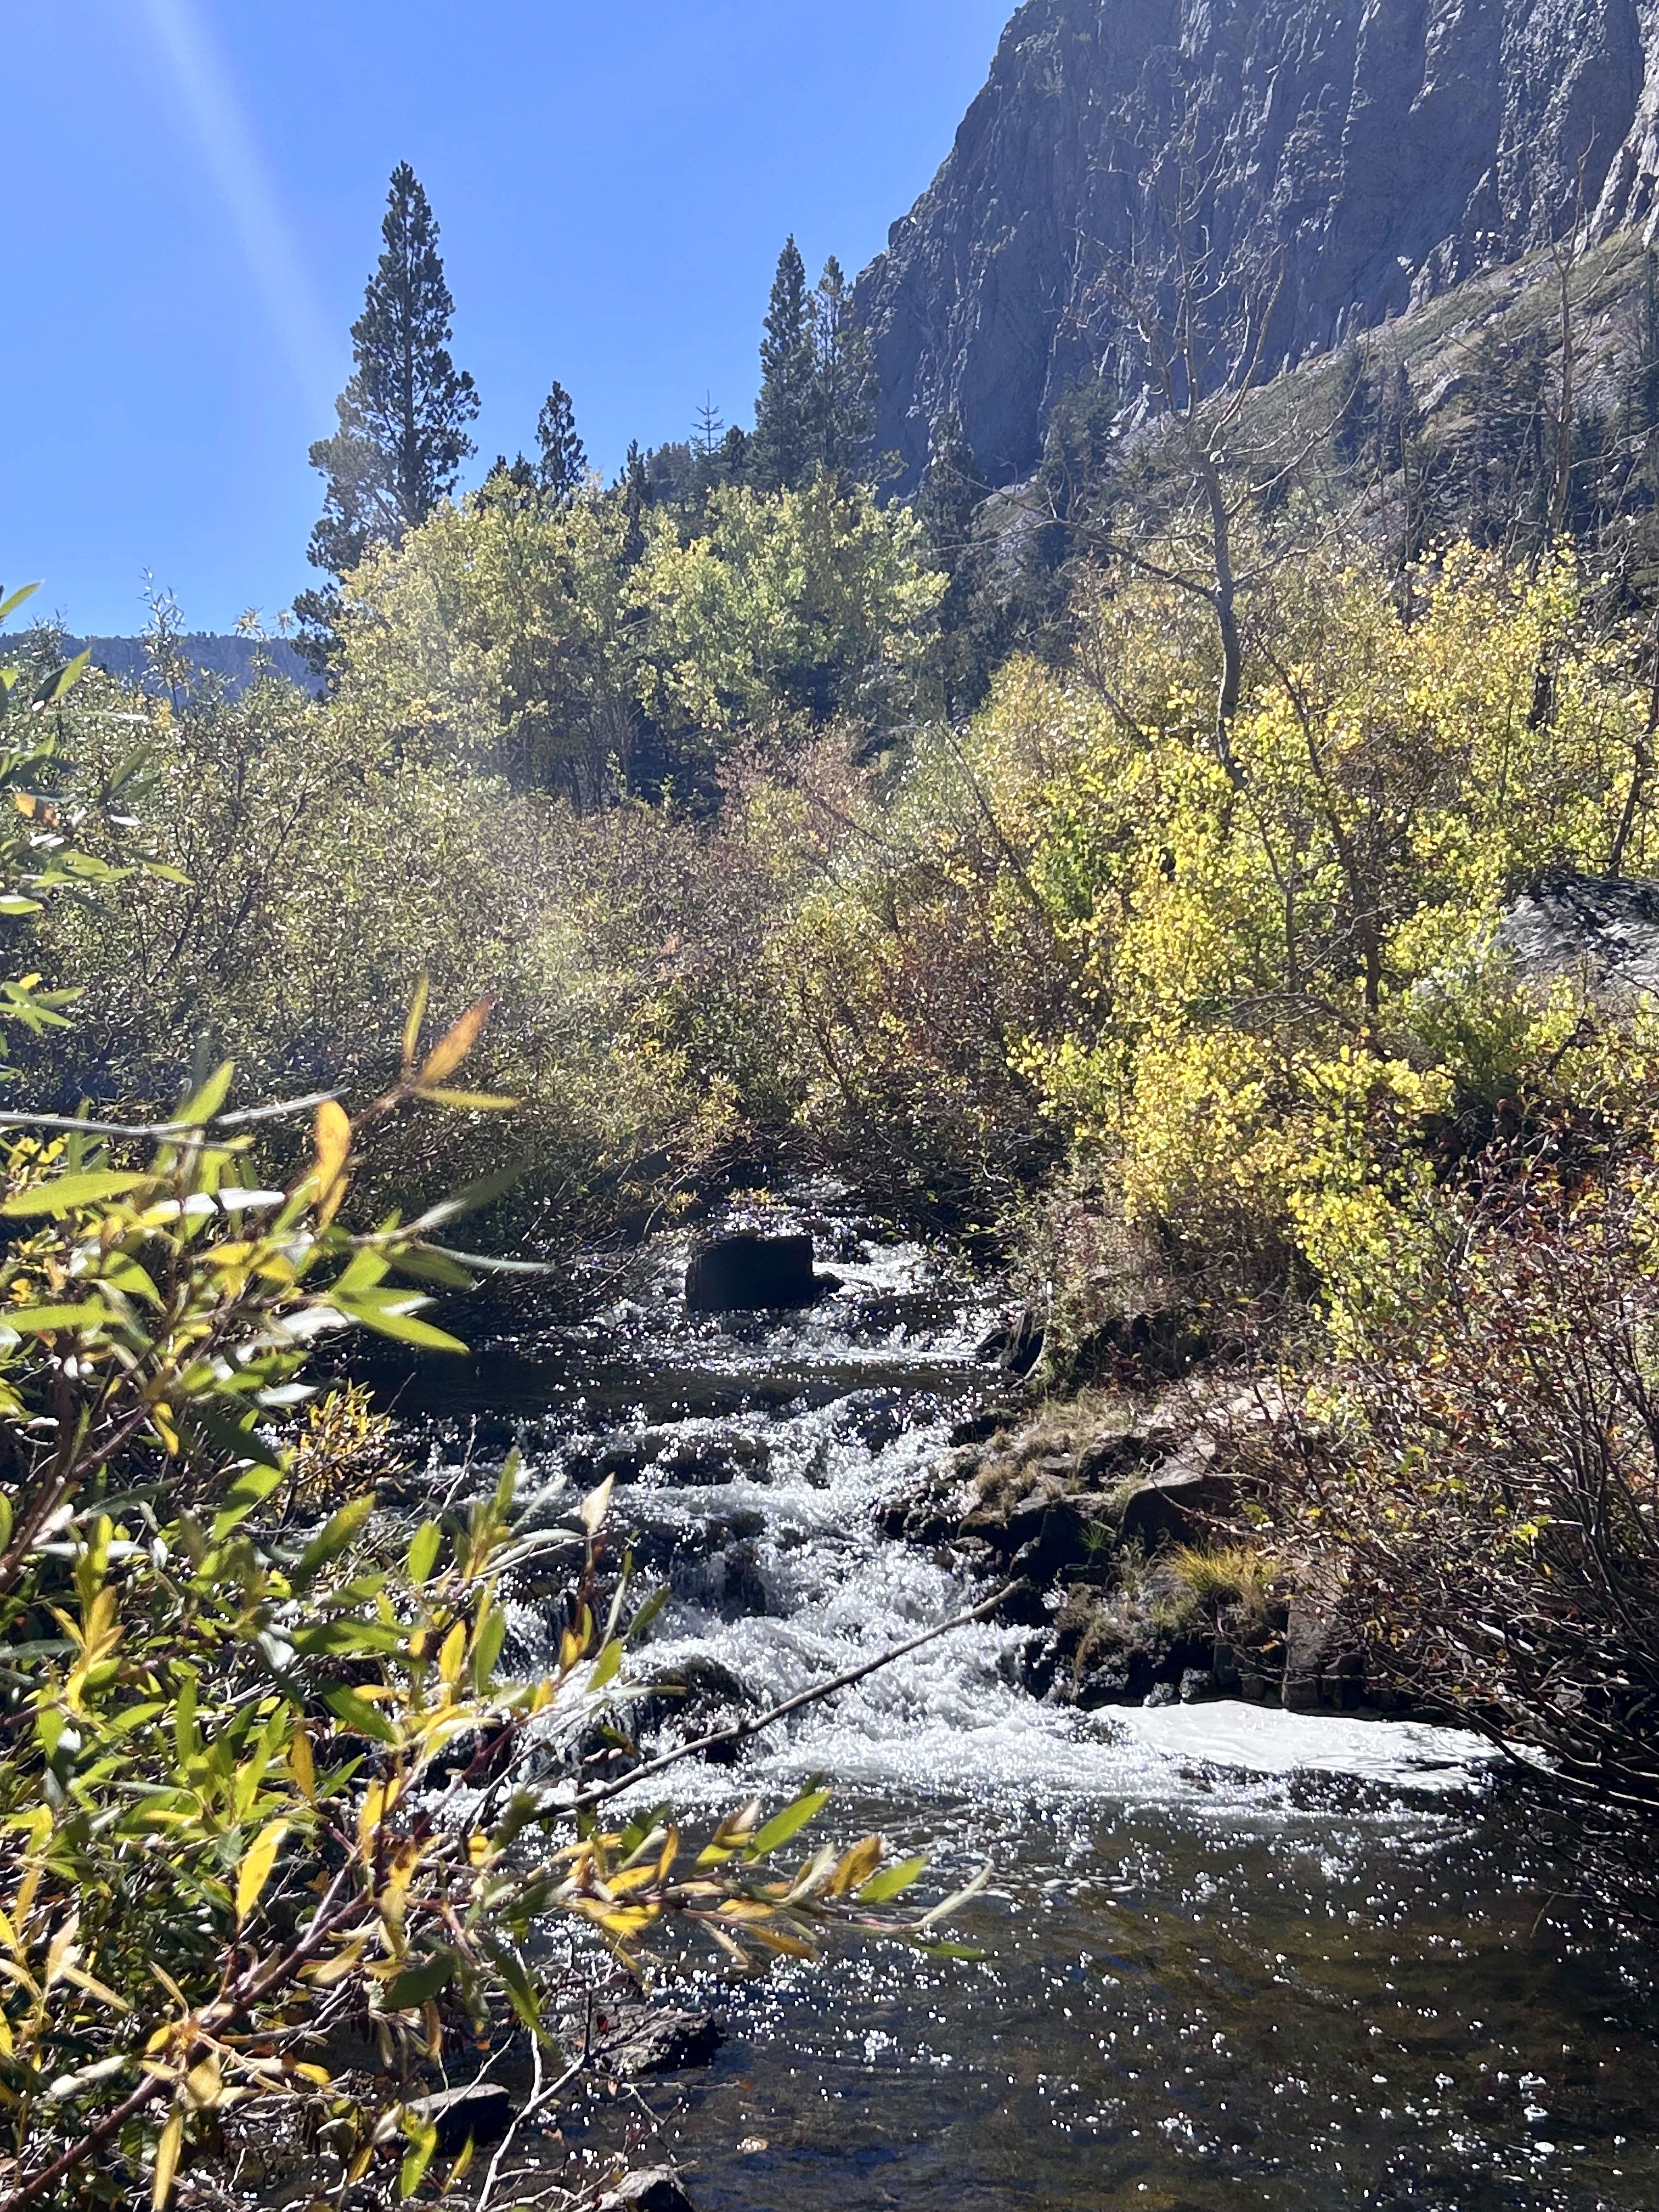
The mountains are a beautiful place to practice photography, but there are some precautions you can take to make sure you have an enjoyable and safe outing:
Dress in layers
Autumn is a funny time for us. Just last week, we got a dusting of snow. But today, we’re looking at temps in the 70s. So, always dress in layers to make sure that you’re ready for anything the forecast has in store.
Be aware of your surroundings
In other words, don’t get so lost behind your camera that you don’t notice a dropoff next to the trail or a tree root or a bear. Stay aware of your surroundings!
Don’t leave a trace
Photography folks tend to be pretty conscientious about leaving nature just how they found it, but it’s worth repeating anyway. Leaving no trace means packing out everything you carried in, not removing plants or rocks, and sticking to the trail so that you don’t disturb native ecosystems.
Book a condo close to all the best spots
Like we said, fall colors are fleeting, so you’ll want to book a condo that is within minutes of all the best photography locations! Here’s an example of a cozy place we have with autumn views right out the window!
Discovery 4, Unit 115
1 BR | 1 BA | 4 Guests